Being able to make your own custom-sized box is a great skill to know. It would make gift giving even more special for a birthday or Christmas.
Check out this video from Donna Griffiths, a Stampin’ Up! trainer.
First she shows how to make the box from a piece of 12″ x 12″ cardstock. Check the video for the tip on how to make the lid fit perfectly!
She also shares a tip on how to use the Fast Fuse Adhesive. This is at seven minutes into the video clip!
Then at nine and a half minutes, she explain how to make your own custom-sized box.
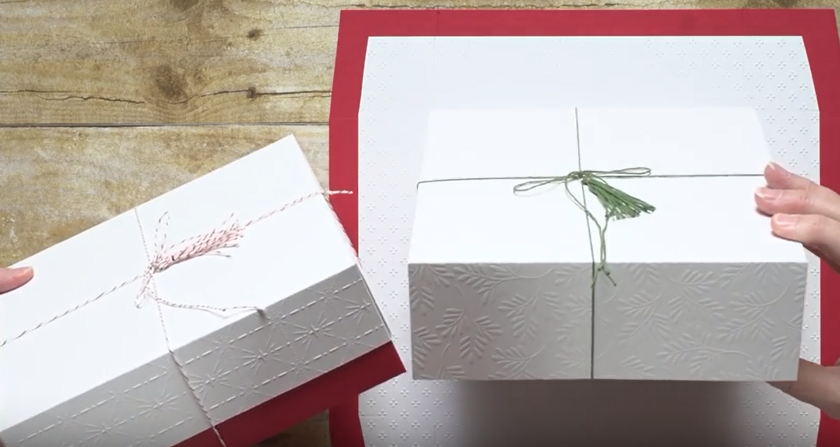
Here are a few photos with measurements from the video on how to make the red and white box.
The box on the left with the red base is the one that Donna shows you how to make in the video, before she tells you how to make a custom-sized box.
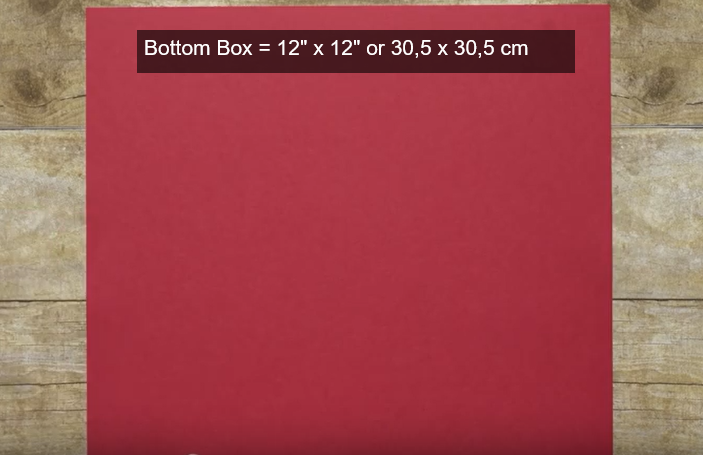
Measurements for the base of the box.
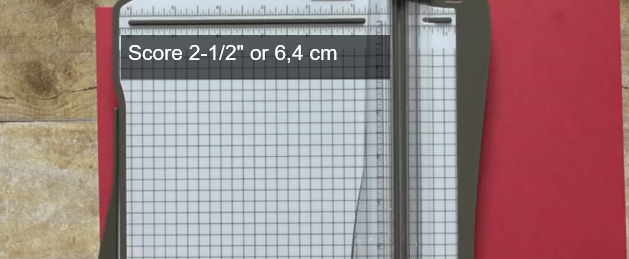
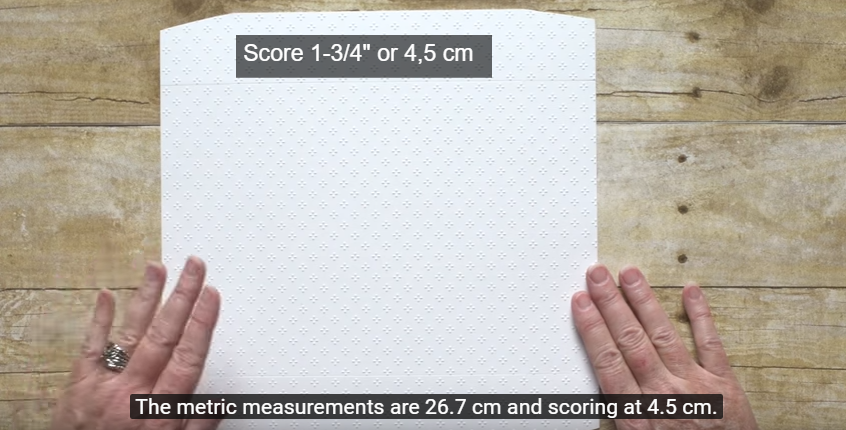
Scoring:
Size of the top of the box:
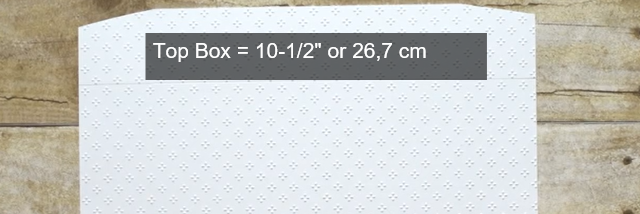
Scoring:
If you would like to purchase any Stampin’ Up! products, and you don’t already have a Stampin’ Up! Demonstrator, I would love to be your Demonstrator. You can either order online through my online store, or email me directly. Please also check out my Loyalty Programme. Feel free to contact me if you have any questions.
I certainly learned a few tips from Donna Griffiths in this video. I hope you did too. I hope you are inspired to give box making or custom-sized box making a go.