
Today’s tip shows you how to be economical with your cardstock when die cutting.
Here is the card I made.
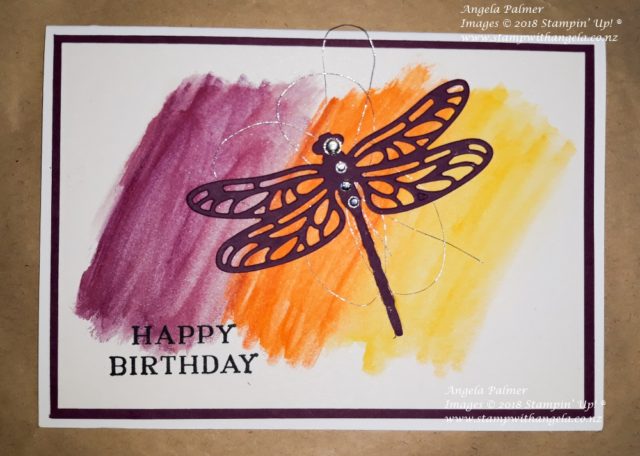
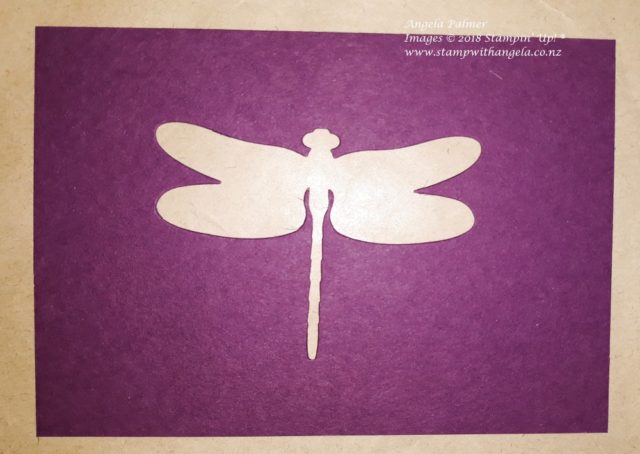
The Rich Razzleberry piece of cardstock is a matting behind my main stamped piece of card. Once the stamped piece is adhered onto it Rich Razzleberry piece you can’t see most of it, so what I did was die cut my dragonfly out of the middle of it. Just make sure when you put the dragonfly die on the Rich Razzleberry cardstock that it isn’t too close to the edges. Once the card is adhered together, no one will ever know that is what you did. It is a great way to save on cardstock.
This is what the die cut piece of cardstock looks like before it is all put together.
To create the colourful background on the card above, I used Stampin’ Up! watercolor pencils on Shimmery White cardstock and then brushed over it with an Aqua Painter to give that more watercolour look.
If you would like to know what else I used to make the card you can check out the supply list below.
Product List


If you would like to purchase any Stampin’ Up! products, and you don’t already have a Stampin’ Up! Demonstrator, I would love to be your Demonstrator. You can either order online through my online store, or email me directly. Please also check out my Loyalty Programme. Feel free to contact me if you have any questions.
I hope you found this die cutting tip useful and that you will give it a try sometime.